Baking Planner helps you organize holiday cookie baking and other baking events. This app lets you store your favorite recipes. Along with that, Baking Planner can help you organize a list of friends you want to share your treats with, easily distribute these treats into different containers of your choice, and make scheduling your baking days much easier. It automatically calculates how many baking goods you need based on what is needed in each container and the container a recipient is assigned to. The “Ingredient” tab gives you a quick overview on what and how many ingredients are required. From there, you can quickly turn it into a shopping list.
Key features include:
- Managing and storing your favorite recipes
- Adding an unlimited amount of containers of your choice and the number of goodies each container will have.
- Adding recipients of goodies and assigning containers to them. You can also set a date for when recipient will receive your treats.
- Scheduling baking days, calculating how many goods you need to make each day and the remaining quantity of goods left to bake.
- Displaying an ingredient list with the required amount of each item for easy planning
If you have any questions or feedback, please feel free to contact us at support@dotnetideas.com. We will be happy to assist you. Thank you for using our app!
Manage Recipes
Enter Recipes
To enter master recipes, click on the "Menu" button then "Recipes" to open the “Recipe List” view. Click on the floating "+" button at bottom of the screen. Then, Enter the name, any notes, the ingredients, instructions and other information including cooking time or an optional photo.
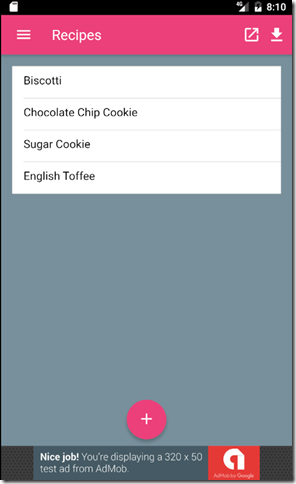
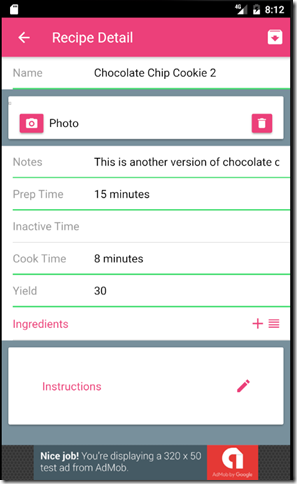
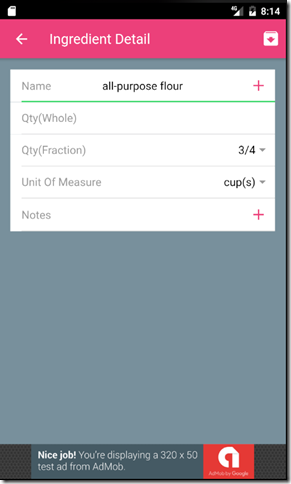
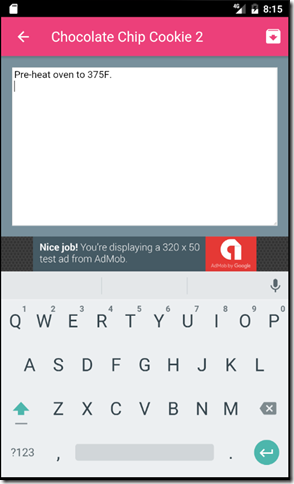
Delete Recipe and Export Recipe

To delete a recipe, swipe a recipe to the left. Then click on the “trash bin” icon.
To export a recipe to device’s storage, swipe a recipe to the left. Then click on the “share” icon.
Import Recipe and Re-load Master Recipes

To import recipes, click on the “download” icon on the top right corner. It will open to the File Browser view. Navigate to the folder containing the recipe file you want to import it to and then click “IMPORT”.
To re-load system recipes, click on  . It will re-load the 4 recipes that come with this app.
Baking planning
Create new planner
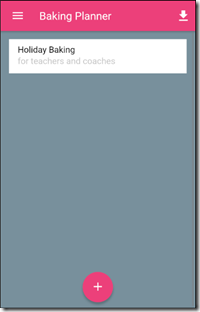
To create a new plan, click on “Menu”->”Planner” to open the planner list. Click on the “+” icon on the bottom of the view. Then enter title and any notes.
Edit planner
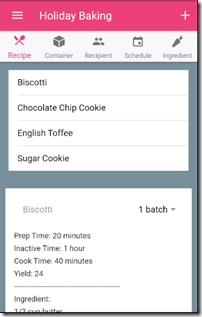
To edit a planner, click on the name of a planner in the planner list view. It will open to the planner detail view. The planner detail view has 5 different tabs with recipe, container, recipient, schedule and ingredient details.
Recipe Tab
To add a recipe, click on the “+” icon on the top right corner. To remove a recipe, swipe the name of the recipe to the left and click on the “trash” icon. When you have assigned the goodies(recipes) to the containers, you can swap out recipes so you don’t have to re-assign them. To swap a recipe, swipe the name of the recipe to the left and click on  .
.
This tab also displays the recipe details so you can use it on baking day. You can change the number of batches from the drop down menu. It will automatically re-calculate the ingredient for you.
Container Tab
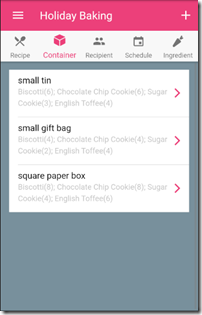
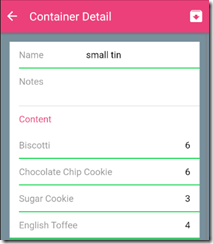
In Container Tab, you can add, remove or edit containers. You can also assign goodies for each container.
Recipient Tab
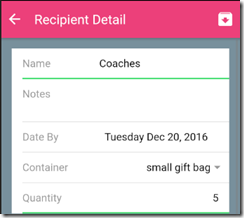
In Recipient Tab, you can add, remove or edit different recipients. When you edit a recipient, you can assign a date when the recipient will receive his/her the treats and how many containers for a recipient.
![image[46] image[46]](http://blog.dotnetideas.com/image.axd?picture=image46_thumb.png)
Schedule Tab
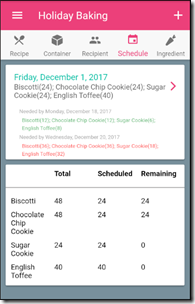
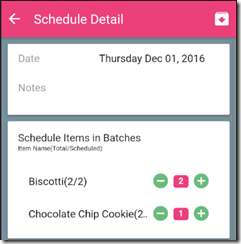
In the “Schedule Tab”, you can set baking days and schedule how many goodies you want to make on those days. It lists the quantity you will need based on when the baking days are and the recipients. It will calculate the scheduled amount and remaining amount automatically. If certain items needed by specific date are already taken care of, it will automatically display the items in green. Otherwise, the items will be displayed in red.
Ingredient Tab
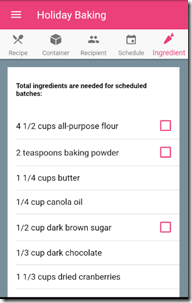
The ingredient tab lists the quantities of all the ingredient needed for scheduled baking days. You can add a checkbox for any item by swiping the name of the item to the left and then click on the “Shopping Cart” icon. To remove the checkbox, swipe the item to the left and click on the “Remove” icon.
Backup and Restore
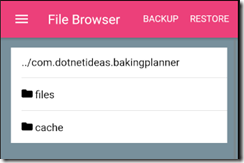
To backup your planners and recipes, click on “Menu” then ”Backup/Restore”. Navigate to the location you want to save it on and click “BACKUP”. It will save all your planners and recipes to that location.
To restore a planner or recipe, click on “Menu” then ”Backup/Restore”, navigate to where the backup file is located, select the file and then click on “RESTORE”.
Contact Us
If you have any questions or feedback, please feel free to contact us at support@dotnetideas.com or visit our website at www.dotnetideas.com